
OneTouch Verio Flex User Manual: A Comprehensive Guide
This manual details the OneTouch Verio Flex system, including its app connectivity, data tracking, and troubleshooting․ It supports users with diabetes management and provides detailed instructions․
The OneTouch Verio Flex is a blood glucose monitoring system designed for individuals managing diabetes․ This system empowers users with accurate readings and insightful data, facilitating informed healthcare decisions․ It seamlessly integrates with the OneTouch Reveal app, enabling comprehensive tracking and analysis of glucose levels․ The Verio Flex offers a user-friendly experience, featuring a clear display and simple operation․
Furthermore, it’s compatible with various applications for diabetes management, providing a holistic approach to wellness․ The system aims to simplify blood glucose testing and promote better health outcomes for its users․
Understanding the Kit Contents
Your OneTouch Verio Flex kit includes essential components for effective blood glucose monitoring․ These typically encompass the Verio Flex meter itself, a lancing device with a lancet, test strips (OneTouch Verio strips are required), and a user manual for guidance․ A battery is also included to power the meter․
Additionally, you may find a quick reference guide and potentially a control solution for quality assurance․ Ensure all components are present before commencing testing, and familiarize yourself with each item’s function․
Setting Up Your Meter
Initial meter setup is crucial for accurate readings․ Begin by inserting the provided battery, ensuring correct polarity as indicated within the battery compartment․ Next, the date and time must be set for proper test result logging․ This is usually done through the meter’s menu, navigated using buttons on the device itself․
Refer to the user manual for specific button combinations and menu options․ Accurate date and time settings are vital for tracking trends and sharing data effectively․
Inserting the Battery
Powering your OneTouch Verio Flex begins with battery insertion․ Locate the battery compartment, typically on the back or side of the meter․ Carefully open the compartment cover․ Insert the battery, paying close attention to the positive (+) and negative (-) polarity markings inside the compartment․ Ensure the battery clicks securely into place․
A properly seated battery is essential for accurate meter operation and reliable test results․ Replace the compartment cover until it clicks shut․
Setting the Date and Time
Accurate date and time settings are crucial for proper data logging and tracking within the OneTouch Verio Flex system․ Access the date and time setting menu through the meter’s options, usually navigated via buttons․ Use the up and down arrows to adjust the year, month, and day․
Similarly, set the hour and minute․ Confirm each setting to save it․ Correct date/time ensures accurate record-keeping․
Performing a Blood Glucose Test
The OneTouch Verio Flex system simplifies blood glucose monitoring․ Begin by washing your hands thoroughly․ Prepare the lancing device with a fresh lancet․ Insert a test strip into the meter; it will activate the device․ Gently prick your fingertip with the lancing device to obtain a small blood sample․

Apply the blood to the designated area on the test strip and await the result display on the meter’s screen․
Preparing the Lancing Device
Proper lancing device preparation is crucial for a comfortable testing experience․ First, remove the cap from the device․ Insert a new, sterile lancet firmly into the lancing device, twisting to secure it․ Adjust the depth setting according to your skin type – lower settings for sensitive skin․ Replace the cap, ensuring it’s snug but not overly tight․
Cock the device, preparing it for a blood sample collection․
Applying a Test Strip

Ensure your hands are clean and dry before handling test strips․ Gently remove a test strip from the vial, immediately resealing the vial to maintain strip integrity․ Insert the gray-colored end of the strip firmly into the meter’s test strip port, ensuring it clicks into place․ The meter will power on automatically and display a readiness symbol․
Do not touch the test area of the strip․
Obtaining a Blood Sample
Position the lancing device firmly against the side of your fingertip․ Press the release button to obtain a small blood drop․ Gently squeeze your finger, if needed, to create a sufficient sample – avoid excessive squeezing․ Bring the blood drop to the test strip’s sample area, allowing it to be drawn in automatically․ Ensure a sufficient sample is applied for accurate results; a small drop is usually enough․
Reading Your Results
Your blood glucose result will appear on the meter’s display within seconds․ The meter clearly shows your current glucose level, along with indicators for high or low readings․ Review the result in relation to your target range, as determined by your healthcare provider․ The OneTouch Reveal app provides detailed analysis and tracking of your results over time, offering valuable insights into your glucose patterns․
Understanding Your Results
Interpreting your blood glucose readings is crucial for effective diabetes management․ Target ranges vary, but generally, 70-130 mg/dL before meals and less than 180 mg/dL two hours after meals are considered healthy․ High readings may indicate the need for dietary adjustments or medication, while low readings require immediate attention to prevent hypoglycemia․ Consistent monitoring and analysis, aided by the OneTouch Reveal app, help identify trends and optimize your care plan․
Target Blood Glucose Ranges
Individual target ranges are set with your healthcare provider, but general guidelines exist․ Typically, before meals, aim for 80-130 mg/dL․ One to two hours post-meal, less than 180 mg/dL is desirable․ These ranges support optimal health and minimize diabetes-related complications․ Consistent monitoring, utilizing the OneTouch Verio Flex, helps you understand how food, activity, and medication impact your glucose levels, enabling informed self-management․
High and Low Blood Glucose Readings
High readings (hyperglycemia), exceeding your target range, may cause increased thirst, frequent urination, and blurred vision․ Low readings (hypoglycemia), typically below 70 mg/dL, can lead to shakiness, sweating, and confusion․ Immediate action is crucial; follow your healthcare provider’s guidance for treating both conditions․ The OneTouch Verio Flex aids in identifying trends, helping prevent extreme fluctuations and promoting stable glucose control for improved well-being․
Using the OneTouch Reveal App
The OneTouch Reveal app seamlessly connects with your Verio Flex meter via Bluetooth, automatically logging blood glucose readings․ It provides personalized insights, trend analysis, and customizable reports to help you understand your data․ You can track meals, medications, and activities alongside your glucose levels․ Securely share this information with your healthcare provider for collaborative diabetes management and optimized treatment plans․
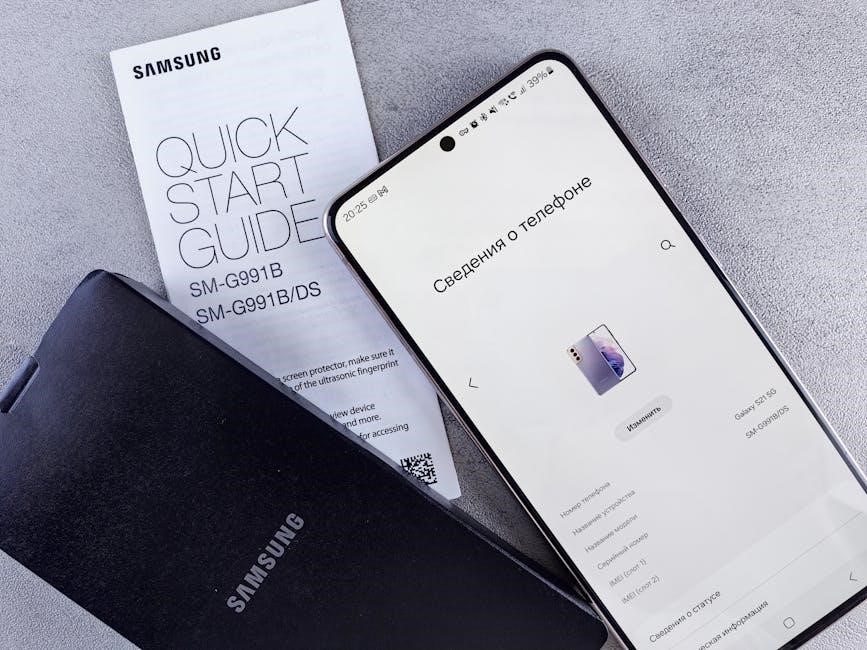
Connecting Your Meter to the App
First, download the OneTouch Reveal app from your app store and create an account․ Then, ensure Bluetooth is enabled on your smartphone․ On your Verio Flex meter, navigate to the settings menu and select “Connect to App․” The app will search for your meter; once found, follow the on-screen prompts to pair the devices․ A successful connection will allow automatic data transfer․
Data Logging and Tracking
The OneTouch Reveal app automatically logs your blood glucose readings after each test․ It visually presents your data through graphs and charts, enabling you to identify trends and patterns․ You can add meal information, medication details, and activity levels to correlate with your glucose results․ This comprehensive tracking assists in understanding how lifestyle factors impact your blood sugar levels, supporting informed diabetes management․
Sharing Data with Your Healthcare Provider
The OneTouch Reveal app facilitates seamless data sharing with your doctor or healthcare team․ You can generate reports summarizing your blood glucose readings, averages, and trends․ These reports can be directly emailed or exported for easy access during appointments․ This feature promotes collaborative diabetes care, allowing for more informed discussions and personalized treatment adjustments based on your glucose data․

Memory Features and Reviewing Past Results
The OneTouch Verio Flex meter stores your blood glucose readings, enabling you to track your progress over time․ Access the test results memory to review past readings, identify patterns, and understand how your lifestyle choices impact your glucose levels․ The meter calculates averages, providing a valuable overview of your glucose control․ This historical data is crucial for effective diabetes management and informed decision-making․
Accessing Test Results Memory
To view stored readings, use the meter’s navigation buttons․ Typically, pressing the ‘up’ or ‘down’ arrows cycles through previous test results, displaying the date and time of each reading․ The meter retains a substantial memory capacity, allowing for comprehensive tracking․ Consult the display screen for specific instructions on navigating the memory functions․ Regularly reviewing your results empowers you to proactively manage your blood glucose levels and overall health․
Average Calculation
The OneTouch Verio Flex meter automatically calculates average blood glucose readings․ This feature provides a valuable overview of your glucose control over a specified period – typically 7, 14, or 30 days․ Access the average function through the meter’s menu, navigating with the control buttons․ Understanding these averages aids in identifying trends and making informed decisions about your diet, exercise, and medication, in consultation with your healthcare provider․
Troubleshooting Common Issues
Encountering problems with your OneTouch Verio Flex? This section addresses frequent concerns․ Common issues include meter error messages – consult the manual for specific codes and solutions․ Inaccurate readings can stem from expired test strips, improper technique, or meter malfunction․ Ensure correct strip insertion and sufficient blood sample size․ If problems persist, review the manual or contact customer support for assistance and potential meter replacement․
Meter Error Messages
Your OneTouch Verio Flex meter displays codes indicating specific issues․ “Err 1” often signals a strip issue – check expiration or damage․ “Err 2” may indicate insufficient blood․ Other codes relate to internal meter problems․ Always consult the manual’s error code table for detailed explanations and troubleshooting steps․ Ignoring error messages can lead to inaccurate results; address them promptly for reliable glucose monitoring and effective diabetes management․
Inaccurate Readings
Several factors can cause inaccurate glucose readings with your OneTouch Verio Flex․ Expired or damaged test strips are a common culprit․ Insufficient blood samples, or contamination of the sample, also contribute․ Ensure proper meter maintenance, including cleaning and control solution checks․ Environmental factors like extreme temperatures or humidity can affect results․ If persistent inaccuracies occur, contact customer support for assistance and potential meter calibration or replacement․
Maintaining Your Meter
Regular maintenance ensures accurate results from your OneTouch Verio Flex․ Clean the meter with a damp cloth after each use, avoiding harsh chemicals․ Store test strips in a cool, dry place, tightly sealed, and away from direct sunlight․ Perform control solution tests periodically to verify meter functionality․ Avoid dropping or exposing the meter to extreme temperatures․ Proper care extends the life of your device and maintains reliable performance for effective diabetes management․
Cleaning and Disinfection
To clean your OneTouch Verio Flex, gently wipe the exterior with a slightly damp cloth․ Avoid using abrasive cleaners or solvents․ For disinfection, use a 70% isopropyl alcohol solution on a cloth, ensuring no liquid enters the meter’s ports․ Regularly cleaning prevents buildup and ensures accurate readings․ Always dry the meter thoroughly before re-inserting test strips or using the lancing device․ This simple routine maintains hygiene and prolongs the meter’s lifespan․
Test Strip Storage
Proper OneTouch Verio Flex test strip storage is crucial for accurate results․ Keep strips in their original vial, tightly closed, in a cool, dry place․ Avoid direct sunlight and extreme temperatures․ Do not transfer strips to another container․ Discard any strips past their expiration date, as they may yield inaccurate readings․ Ensure the vial is closed immediately after removing a strip to protect against humidity and contamination, preserving strip integrity․
Quality Control Checks
Regular quality control checks with OneTouch Verio Flex ensure accurate meter and test strip performance․ Use a control solution specifically designed for this meter․ Follow the instructions for performing the control solution test, treating it like a regular blood glucose test․ Compare the results to the control solution range printed on the vial․ If results fall outside this range, contact customer support, as it may indicate a problem with the meter or strips․
Using Control Solution
To perform a control solution test with your OneTouch Verio Flex, first, apply a control solution test strip․ Then, introduce a drop of control solution onto the test strip, ensuring complete coverage․ The meter will display a result; compare this value to the range printed on the control solution vial․ Perform this check when opening a new vial of test strips, if you suspect meter malfunction, or if results seem questionable․
Interpreting Control Solution Results
If your control solution result falls within the range printed on the vial, your meter and test strips are functioning correctly․ However, if the result is outside the stated range, repeat the test․ If it remains out of range, do not use the meter for testing; contact customer support․ Accurate control solution testing confirms reliable blood glucose measurements, ensuring confidence in your diabetes management․
Battery Information and Replacement
The OneTouch Verio Flex meter requires two AAA alkaline batteries (not included)․ A low battery indicator appears on the display when replacement is needed․ Gently slide off the battery cover and insert new batteries, matching the polarity (+/-) as indicated․ Dispose of used batteries responsibly, following local regulations․ Battery life varies with usage; frequent testing may require more frequent replacements․
Disposal Information
Proper disposal of the OneTouch Verio Flex meter and accessories is crucial for environmental responsibility․ Do not dispose of the meter or test strips in household waste․ Contact your local waste disposal authority for information on proper e-waste recycling options․ Used test strips and lancets should be treated as biohazardous waste and disposed of according to healthcare professional guidelines․ Batteries must also be recycled separately․
Warranty Information
LifeScan, Inc․ warrants this OneTouch Verio Flex meter against defects in materials and workmanship for a period of one year from the date of purchase․ This warranty does not cover damage resulting from misuse, accidents, or unauthorized modifications․ To obtain warranty service, contact Customer Support․ Proof of purchase is required․ This warranty provides repair or replacement at LifeScan’s discretion․
Contacting Customer Support
For assistance with your OneTouch Verio Flex meter, contact LifeScan Customer Support․ You can reach them via phone at 1-800-227-6882, available Monday through Friday․ Alternatively, visit the OneTouch website for frequently asked questions, troubleshooting guides, and online support resources․ Dedicated specialists are available to address your concerns and ensure optimal meter functionality․ Prompt assistance is provided for any issues encountered․
Frequently Asked Questions (FAQ)
Q: Can the OneTouch Verio Flex work with other apps? A: Yes, it integrates with the OneTouch Reveal app and other diabetes management applications․ Q: What if my results seem inaccurate? A: Ensure proper technique and check control solution results․ Q: How often should I replace the batteries? A: Replace when the low battery indicator appears for consistent performance․