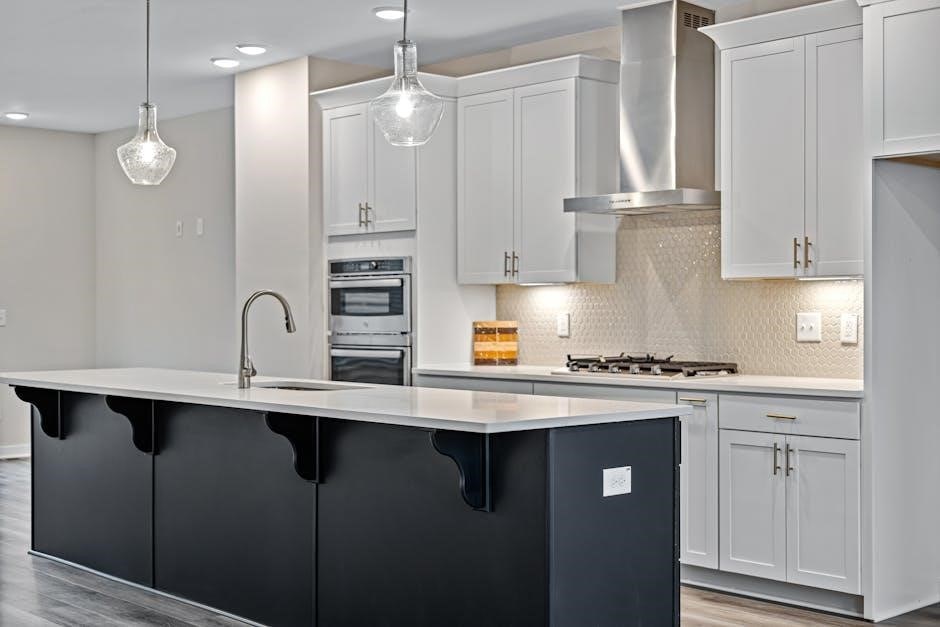
GE Self Cleaning Gas Oven Instructions: A Comprehensive Guide
GE gas ovens with self-cleaning features offer convenience, but understanding proper usage is crucial. Issues like control locks, door latches, and excessive temperatures can prevent activation.
Understanding the Self-Cleaning Cycle

The self-cleaning cycle on your GE gas oven is a high-temperature process designed to eliminate baked-on food residue without manual scrubbing. It functions by heating the oven to extremely high temperatures – often around 525 degrees Fahrenheit – for a prolonged period, typically several hours. This intense heat pyrolyzes the food particles, effectively reducing them to ash.
This isn’t merely a warming function; it’s a significant thermal event. Modern ovens utilize this feature to simplify cleaning, but it’s vital to recognize the potential risks associated with such high temperatures. The cycle isn’t instantaneous; it’s a carefully timed process that requires patience. During the cycle, the oven door automatically locks for safety, preventing accidental opening while the interior reaches scorching temperatures.
Understanding that the self-clean function isn’t “magical” is key. It’s a powerful tool, but it requires preparation and awareness of potential issues. The cycle’s effectiveness depends on the amount of residue present; heavily soiled ovens may require multiple cycles; It’s also important to note that while the cycle burns off food, it doesn’t eliminate all traces, and a post-cleaning wipe-down is often necessary.
Safety Precautions Before Starting
Prior to initiating the self-clean cycle on your GE gas oven, several crucial safety precautions must be observed. The high temperatures generated pose potential hazards, demanding careful preparation. First, remove all oven racks, cookware, baking stones, and any aluminum foil. These items can become damaged or even pose a fire risk at such extreme heat.
Ensure the kitchen is well-ventilated. The self-cleaning process can release odors and potentially harmful fumes, so open windows or use exhaust fans. Keep children and pets away from the oven during the entire cycle and cooling period, as the exterior surfaces become extremely hot. Avoid touching the oven door or surrounding areas.
Inspect the oven floor for any large debris or spills; manually remove these before starting the cycle to minimize smoke and odor. Be aware of the potential for the self-clean cycle to trigger smoke detectors. Consider temporarily disabling them or ensuring adequate ventilation to prevent false alarms. Finally, never attempt to open the oven door during the self-clean cycle – it is locked for your safety.
Preparing Your Oven for Self-Cleaning
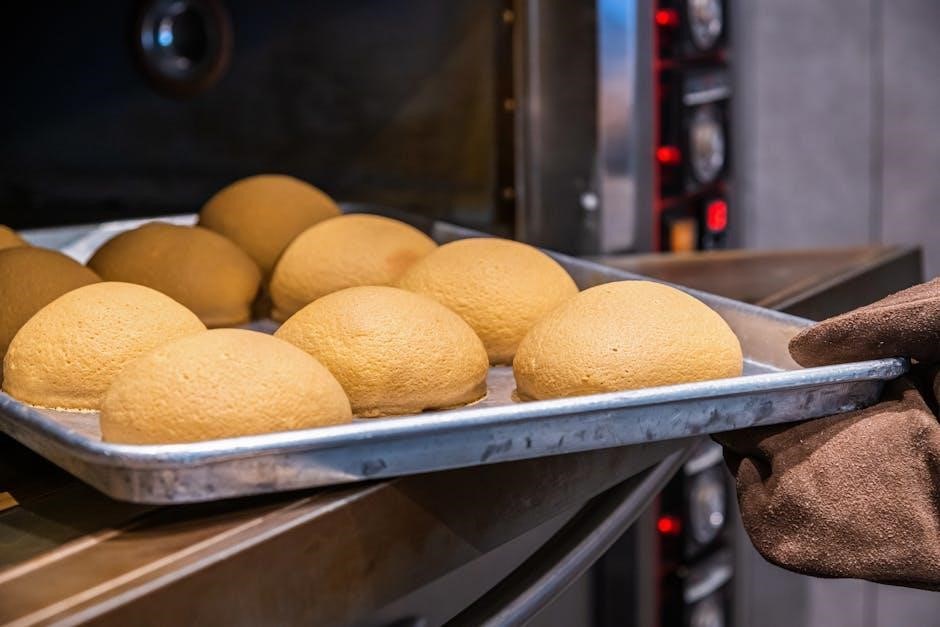
Thorough preparation is key to a successful and safe self-cleaning cycle for your GE gas oven. Begin by removing all items from within the oven cavity. This includes oven racks, broiler pans, baking stones, thermometers, and any food residue or spills. Large accumulations of grease or food particles should be scraped away manually before initiating the cycle; this minimizes smoke and odor production.
Wipe down the oven interior with a damp cloth to remove loose debris. Pay particular attention to the oven door and frame, ensuring they are clean for a proper seal during the high-temperature process. Check the door latch mechanism to ensure it engages correctly – a faulty latch can prevent the cycle from starting.
Ensure the cooktop area surrounding the oven is clear of flammable materials. The exterior of the oven will become hot during the self-clean cycle, so maintain a safe distance. Finally, confirm the kitchen is adequately ventilated by opening windows or activating the exhaust fan. Proper preparation ensures optimal cleaning and minimizes potential risks.
Step-by-Step Instructions for Initiating the Self-Clean Cycle
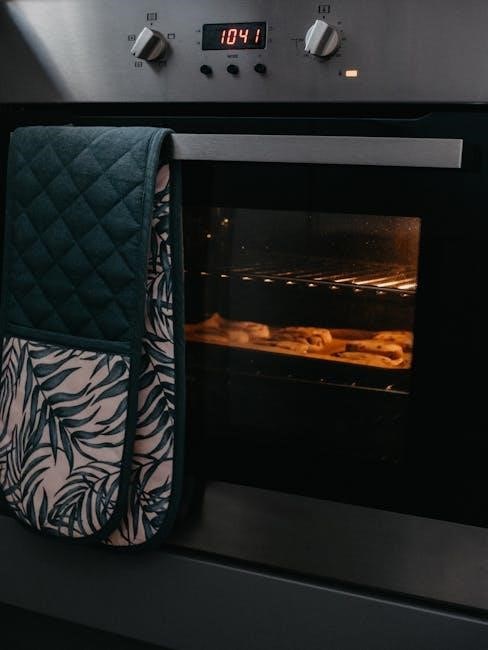
Initiating the self-clean cycle on your GE gas oven is generally straightforward, but specific steps may vary slightly depending on your model. First, ensure the oven is completely cool after prior use. Press the “Self-Clean” button on the control panel. Some models require you to press “Self-Clean” and then select a cleaning duration – typically ranging from 2 to 4 hours – based on the oven’s soil level.
Next, verify the control lock is deactivated. If activated, the self-clean cycle won’t start. The control panel will likely prompt you to confirm your selection. Once confirmed, the oven door will automatically lock, and the self-clean cycle will begin. Do not attempt to open the door during this process; it’s a safety feature.
The oven will heat to extremely high temperatures. Monitor the initial stages to ensure proper operation. Refer to your oven’s manual for model-specific instructions and any error codes that may appear. Remember, adequate ventilation is crucial during the cycle.
Cycle Duration and What to Expect
The duration of a GE gas oven’s self-clean cycle typically ranges from 2 to 4 hours, depending on the selected intensity and soil level. During this time, the oven heats to extremely high temperatures – often exceeding 500 degrees Fahrenheit – to burn off food residue. Expect to notice a burning smell; this is normal as food particles are incinerated.
The oven door remains locked throughout the entire cycle for safety. You may observe some smoke escaping from the oven vents, particularly during the initial stages. Ensure adequate ventilation in your kitchen by opening windows or using an exhaust fan. The oven will automatically cool down after the cleaning cycle is complete.
Once cooled, the oven door will unlock. Some residue may remain, which can be easily wiped away with a damp cloth. Be aware that the self-clean cycle can sometimes trigger the oven’s thermal fuse, potentially requiring repair if it blows repeatedly.
Troubleshooting: Self-Clean Cycle Won’t Start
If your GE gas oven’s self-clean cycle refuses to initiate, several factors could be at play. First, verify the control lock isn’t activated; this feature prevents accidental operation. Ensure the oven temperature is sufficiently cool – the cycle won’t start if residual heat remains from recent cooking. A malfunctioning door latch is a common culprit; confirm it securely locks the door.
Inspect the oven’s electronic control board for any error codes displayed. These codes can pinpoint specific issues. A blown thermal fuse, often due to repeated self-cleaning cycles, can also prevent activation. If the fuse is the problem, replacement is necessary.
Furthermore, a faulty oven temperature sensor might be providing inaccurate readings, hindering the cycle’s start. Consider checking the wiring connections to the self-clean module. If these steps don’t resolve the issue, professional appliance repair may be required to diagnose and fix more complex problems.
Control Lock Issues Preventing Activation
The control lock feature on your GE gas oven is designed to prevent accidental operation, particularly by children. However, if inadvertently activated, it will absolutely block the initiation of the self-clean cycle. This lock disables the control panel buttons, rendering them unresponsive. Before troubleshooting other potential issues, always confirm the control lock is deactivated.
Typically, deactivating the control lock involves pressing and holding a specific combination of buttons on the control panel – often the “Lock” or “Control Lock” button itself, sometimes in conjunction with another button like “Cancel” or “Options”. Refer to your oven’s user manual for the precise button sequence for your model.
Some GE ovens feature a key lock indicator on the display panel. If illuminated, the lock is engaged. Repeatedly pressing the lock button may be necessary. Ensure no buttons are held down during the deactivation process; If the control lock remains unresponsive, a control board malfunction might be the cause, requiring professional service.
Door Latch Problems and Solutions
A securely latched oven door is paramount for the self-clean cycle to initiate on your GE gas oven. The oven’s safety mechanisms prevent operation if the door isn’t fully and correctly locked, preventing hazardous exposure to extreme temperatures. If the self-clean cycle won’t start, the door latch is a prime suspect.
Inspect the door latch mechanism for any visible obstructions – food particles, debris, or even a slightly misaligned latch. Clean the latch area thoroughly with a damp cloth. Gently try to move the latch; it should move smoothly without excessive resistance. A stiff or jammed latch needs attention.
If cleaning doesn’t resolve the issue, the latch assembly itself might be faulty. A broken spring or damaged locking mechanism can prevent proper engagement. In such cases, replacing the door latch assembly is often necessary. This is typically a repair best left to a qualified appliance technician, as it involves disassembling parts of the oven door. Never attempt to bypass the safety interlock system.
Oven Temperature Too High – A Common Cause
A frequently encountered reason why your GE gas oven’s self-clean cycle won’t initiate is an excessively high oven temperature. The self-clean function requires the oven to reach extremely high temperatures – around 525 degrees Fahrenheit – to effectively burn off food residue. However, if the oven is already hot from recent cooking, the safety controls will prevent the self-clean cycle from starting.
The oven’s internal sensors detect the existing temperature and will not allow the self-clean cycle to begin if it exceeds a safe threshold. This is a crucial safety feature to prevent overheating and potential damage to the oven or surrounding areas. Patience is key; allow the oven to cool completely before attempting to activate the self-clean function.
Avoid initiating the self-clean cycle immediately after baking or roasting. Give the oven ample time – several hours, if necessary – to return to room temperature. A technician noted that repeated use of the self-clean function can lead to component failure due to the extreme heat.
Cooling Down Period After Self-Cleaning
Following the self-clean cycle on your GE gas oven, a substantial cooling down period is absolutely essential. The oven reaches incredibly high temperatures – exceeding 500 degrees Fahrenheit – during this process, and immediate handling poses a significant burn risk. The door will remain locked automatically until the internal temperature drops to a safe level.
Do not attempt to force the door open. This safety mechanism is in place to protect you from severe burns. The cooling process can take several hours, depending on the cycle duration and ambient room temperature. Avoid touching any interior surfaces until they are completely cool to the touch.
Ventilation is also crucial during this period (see the ‘Ventilation During and After the Cycle’ section). The high temperatures can release odors and potentially harmful fumes. Allow for adequate airflow in the kitchen. Once cooled, a post-cleaning inspection is recommended to remove any remaining ash or residue.
Ventilation During and After the Cycle
Proper ventilation is paramount when utilizing the self-cleaning function on your GE gas oven. The intense heat generated during the cycle – reaching temperatures up to 525 degrees Fahrenheit – can release fumes and odors that may be irritating or even harmful, especially to individuals with respiratory sensitivities or pets.
Before initiating the self-clean cycle, ensure the kitchen is well-ventilated. Open windows and turn on the exhaust fan above the stove. This helps to dissipate any released fumes and maintain air quality. Continue ventilation throughout the entire cycle and for a considerable period afterward, during the cooling down phase.
The self-cleaning process can burn off food residue, creating noticeable smells. Adequate airflow minimizes these odors and prevents their spread throughout the house. Be mindful of potential impacts on sensitive individuals and pets, and prioritize a well-ventilated environment for a safe and comfortable experience.
Potential Risks and Harmful Effects
The self-cleaning function, while convenient, presents potential risks and harmful effects that users of GE gas ovens should be aware of. The extremely high temperatures – exceeding 500 degrees Fahrenheit – can release fumes from burnt food particles, potentially impacting indoor air quality. These fumes can be irritating to the respiratory system, particularly for individuals with asthma or other breathing conditions, and can also affect pets.
Beyond air quality, the intense heat can pose a risk to oven components over time. Repeated use of the self-clean cycle may contribute to damage, potentially leading to costly repairs. Furthermore, the function isn’t entirely foolproof; it may not eliminate all residue, requiring manual cleaning afterward.

It’s crucial to understand that the self-cleaning cycle isn’t a substitute for regular oven maintenance. Ignoring spills and buildup can exacerbate the fumes released during cleaning. Prioritize safety by ensuring proper ventilation and being mindful of the potential impacts on health and appliance longevity.
Impact of High Temperatures on Oven Components
The self-cleaning cycle in a GE gas oven subjects internal components to incredibly high temperatures, potentially leading to long-term damage. Repeated exposure to 500+ degrees Fahrenheit can weaken the oven’s enamel coating, causing it to chip or crack over time. This degradation isn’t always immediately visible but can compromise the oven’s structural integrity.
Furthermore, the heating elements themselves are stressed during the cycle. While designed to withstand high heat, consistent use of self-cleaning can shorten their lifespan, potentially leading to failure. The oven’s temperature sensor is also vulnerable, and inaccuracies can develop with repeated extreme heat exposure.
Some users have reported issues with the oven’s electronic control board after frequent self-cleaning cycles, suggesting that the heat can affect sensitive electronic components. A service technician’s advice highlights a significant concern: repeated self-cleaning can even cause the oven to “blow,” indicating a major component failure. Therefore, moderation is key to preserving the oven’s functionality.
Avoiding Damage to the Oven
To mitigate potential damage during self-cleaning, several precautions are essential for your GE gas oven. Firstly, always ensure the oven is completely cool before initiating the cycle; a high starting temperature can exacerbate stress on components. Avoid using the self-clean function excessively – infrequent use is preferable to regular cycles.
Prior to self-cleaning, manually remove large food debris and spills. This reduces the intensity and duration of the high-heat process, lessening the strain on the oven’s internal parts. Consider wiping down the oven interior after each use to minimize buildup and the need for frequent self-cleaning.
Heeding professional advice is crucial; a technician’s warning against frequent self-cleaning due to potential failures should be taken seriously. If you notice any unusual smells, smoke, or error codes during the cycle, immediately stop it and consult the owner’s manual or a qualified repair service. Prioritizing preventative maintenance and mindful usage will extend your oven’s lifespan.
Post-Cleaning Inspection and Residue Removal
Following the self-clean cycle on your GE gas oven, a thorough inspection is vital. Allow the oven to cool completely before opening the door and examining the interior. A fine white powder residue is normal; this is ash from burned food particles and can be easily wiped away.
Use a damp cloth to remove the ash, avoiding abrasive cleaners that could scratch the oven’s surfaces. Pay particular attention to the door, racks, and any crevices where residue may accumulate. If stubborn spots remain, a paste of baking soda and water can be gently applied and rinsed clean.

Inspect the oven window for any signs of damage or discoloration. Check the door seal for proper closure, ensuring it’s free from debris. Finally, assess the overall condition of the oven interior, noting any potential issues that may require attention. Regular post-cleaning maintenance ensures optimal performance and longevity.
Cleaning After the Self-Clean Cycle
Although the self-clean cycle significantly reduces oven grime, some post-cycle cleaning is usually necessary for a truly spotless finish on your GE gas oven. Once the oven has fully cooled – a crucial safety step – begin by wiping down the interior with a damp cloth. This removes the powdery ash residue created during the high-temperature cleaning process.
Focus on the oven floor, walls, and door, as these areas accumulate the most residue. For persistent spots, create a paste of baking soda and water, applying it gently and rinsing thoroughly. Avoid abrasive cleaners, as they can damage the oven’s enamel coating.
Don’t forget to clean the oven racks, which can be washed with warm, soapy water. Finally, wipe down the exterior of the oven, including the control panel and door, for a complete clean. This ensures a hygienic and aesthetically pleasing cooking environment.
Frequency of Self-Cleaning – Best Practices
Determining the ideal frequency for utilizing the self-cleaning function on your GE gas oven depends on your cooking habits. While convenient, frequent use can potentially shorten the lifespan of oven components, as the cycle operates at extremely high temperatures. A survey revealed ovens aren’t cleaned often enough!
Generally, self-cleaning every 3-6 months is sufficient for average use. If you frequently cook messy meals or experience significant spills, you might consider cleaning more often. However, avoid running the cycle consecutively. Allow ample time between cycles for the oven to return to normal operating temperatures.
Some technicians advise against frequent self-cleaning, citing potential damage to the oven’s heating elements. Regular manual cleaning, even simple wipe-downs after spills, can reduce the need for frequent self-cleaning cycles, extending the life of your appliance. Prioritize safety and component longevity.