Oster Toaster Oven Manual: A Comprehensive Guide
This manual provides detailed instructions for operating and maintaining your Oster toaster oven, covering setup, functions, cooking tips, cleaning, and warranty details․
Oster toaster ovens are versatile kitchen appliances designed to simplify cooking tasks, offering a convenient alternative to full-sized ovens․ They excel at toasting, baking, broiling, and often include convection features for enhanced cooking performance․
These ovens are popular for their compact size, making them ideal for smaller kitchens, dorm rooms, or as a secondary oven for supplemental cooking․ Oster provides a range of models, each with unique features and capacities to suit diverse culinary needs․
This guide will walk you through understanding your specific Oster model, ensuring safe operation, and maximizing its potential for delicious results․ From simple toast to elaborate baked goods, your Oster toaster oven is a valuable addition to your kitchen․
Understanding Your Model Number
Your Oster toaster oven’s model number is crucial for accessing specific support and documentation․ It’s typically located on a sticker on the back or bottom of the appliance․ This number identifies the exact features and specifications of your unit, differentiating it from other Oster models․
Knowing your model number allows you to download the correct user manual, find compatible accessories, and receive tailored assistance from Oster customer support․ When contacting customer service or searching for parts, always have this number readily available․
Referencing the model number ensures you receive accurate information relevant to your oven, maximizing your cooking experience and troubleshooting efficiency․ It’s a key identifier for warranty claims as well․
Safety Precautions
Prioritize safety when operating your Oster toaster oven․ Always ensure proper ventilation during use, avoiding placement near flammable materials․ Never immerse the oven in water or any liquid to prevent electrical shock․
Exercise caution when handling hot surfaces; use oven mitts or pot holders․ Unplug the oven when not in use and before cleaning․ Supervise children closely when the appliance is operating․
Do not operate the oven with a damaged cord or plug․ Avoid using extension cords․ Regularly inspect the crumb tray and clean it to prevent fire hazards․ Following these guidelines ensures safe and enjoyable cooking with your Oster toaster oven․
General Safety Guidelines
To ensure safe operation, read all instructions before using your Oster toaster oven․ This appliance is for household use only․ Do not use outdoors․ Always place the oven on a stable, heat-resistant surface․
Never leave the oven unattended during operation; Avoid touching hot surfaces; use handles and knobs․ Allow the oven to cool completely before cleaning or storing․
Do not insert metal utensils or cookware unless specifically designed for toaster oven use․ Keep the oven area clear of flammable materials․ Regularly check the power cord for damage․ Following these guidelines will help prevent accidents and ensure a long lifespan for your appliance․
Electrical Safety Information
To prevent electrical shock, never immerse the toaster oven, cord, or plug in water or other liquids․ Ensure the voltage of your outlet matches the appliance’s rating․
Do not operate the oven with a damaged cord or plug․ If the appliance malfunctions, disconnect it immediately and contact Oster customer support․
Avoid using extension cords; if necessary, use a heavy-duty extension cord rated for the appliance’s wattage; Always unplug the oven when not in use and before cleaning․ Never attempt to repair the oven yourself; servicing should be done by qualified personnel․ Proper electrical safety is crucial for preventing hazards․
Operating Your Oster Toaster Oven
Begin by familiarizing yourself with the control panel and function settings, ensuring proper setup for optimal baking, broiling, and toasting experiences․
Initial Setup and Preparation
Before your first use, carefully unpack your Oster toaster oven and remove all packaging materials․ Inspect the unit for any damage that may have occurred during shipping․ Place the oven on a stable, heat-resistant surface with adequate ventilation, away from flammable materials․
Wash the baking pan, rack, and crumb tray with warm, soapy water, then dry thoroughly․ Run the oven empty for approximately 15-20 minutes at the highest temperature setting to burn off any manufacturing residue or odors․ This initial burn-off may produce a slight smell, so ensure good ventilation․
Familiarize yourself with the oven’s components, including the control panel, heating elements, and interior․ Refer to the model number to ensure you are using the correct manual for your specific Oster toaster oven․
Control Panel Overview
The Oster toaster oven’s control panel features intuitive settings for versatile cooking․ Typically, you’ll find function selectors for Bake, Broil, Toast, and sometimes Convection․ A temperature control dial or buttons allow precise heat adjustments, crucial for various recipes․
A timer control, often a dial or digital display, enables you to set cooking durations accurately․ Some models include pre-set cooking programs for common foods․ Digital models may feature a clear LCD screen displaying selected settings and remaining cook time․
Understanding each function and control is key to maximizing your oven’s capabilities․ Refer to the ‘Function Settings Explained’ section for detailed descriptions of each option․
Function Settings Explained (Bake, Broil, Toast, etc․)
The Bake function utilizes radiant heat for even cooking, ideal for casseroles, pastries, and reheating․ Broil employs intense top-down heat, perfect for browning and crisping foods like steaks or vegetables – watch closely to prevent burning! The Toast setting is specifically calibrated for browning bread products, offering shade adjustments․
If your model includes a Convection setting, it circulates hot air for faster, more uniform cooking, excellent for roasting․ Some Oster ovens offer specialized functions like Pizza or Warm, tailored for specific food types․ Always consult recipes for recommended settings and temperatures․
Experimenting with these functions unlocks the full potential of your Oster toaster oven․
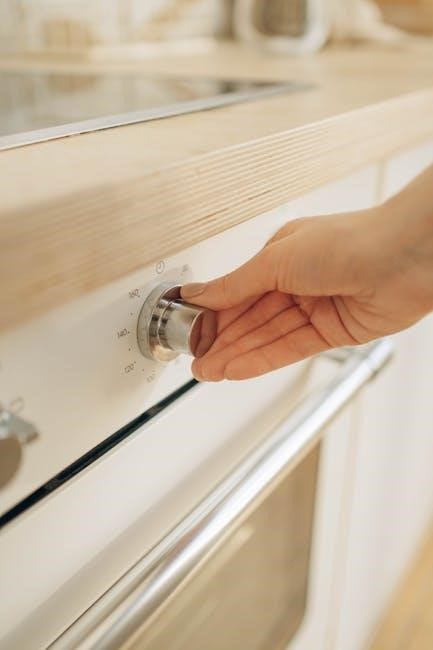
Temperature and Timer Controls
Oster toaster ovens feature intuitive temperature controls, typically a dial or digital buttons, allowing selection from a wide range – often 200°F to 450°F․ Precise temperature is crucial for successful baking and roasting; always refer to your recipe․ The timer control, also a dial or digital input, sets the cooking duration․
Many models include an “Auto Shut-Off” feature, automatically ending the cooking cycle when the timer reaches zero, preventing overcooking․ Some offer a “Stay On” option for continuous operation․ Digital models often display remaining cook time․
Understanding these controls ensures optimal cooking results and safety․
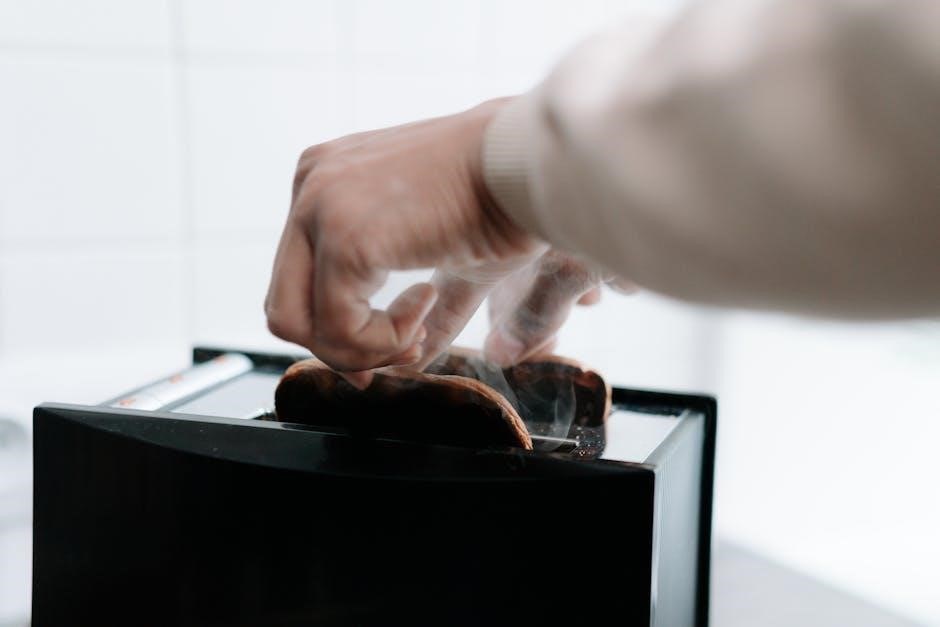
Toasting Bread
Toasting bread in your Oster toaster oven is simple and convenient․ Begin by placing bread slices on the included baking rack․ Select the “Toast” function on the control panel․ Utilize the shade control dial to choose your desired level of browning – from light golden to dark․
For even toasting, ensure bread slices are of uniform thickness․ Monitor the toasting process, especially during initial use, to determine the ideal shade setting for your preference․ Some models offer one-sided toasting for open-faced sandwiches․
Experiment to achieve perfectly toasted bread every time!
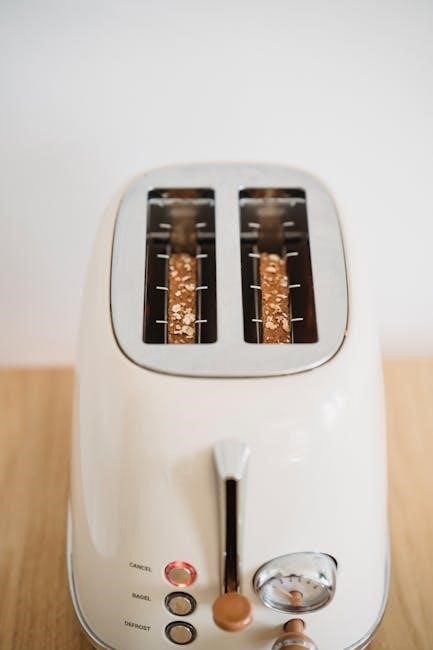
Adjusting Toast Shade Settings
The toast shade control dial allows precise customization of your toasting results․ Lower numbers correspond to lighter shades, ideal for white bread or delicate pastries․ Higher numbers produce darker, crispier toast, suitable for whole wheat or rye․
Start with a medium setting (around 3-4) and adjust accordingly based on your preference and bread type․ Thicker slices generally require higher settings․ Observe the toasting process closely during the first few uses to pinpoint your perfect shade․
Remember that toasting times can vary slightly between models․ Consistent results come with practice and familiarization with your oven’s settings․
Troubleshooting Toasting Issues
If your toast is consistently too light, ensure the shade setting is appropriately high for your bread type and thickness․ Verify the oven is preheated before inserting bread․ Conversely, if toast is too dark, lower the shade setting․ Uneven toasting can occur if bread slices overlap or are not centered on the rack․
For consistently under-toasted bread, check the heating elements for any visible damage or obstructions․ A malfunctioning timer could also be the culprit․ If the oven isn’t toasting at all, confirm it’s properly plugged in and the power outlet is functioning․
Cooking with Your Oster Toaster Oven
Explore diverse recipes utilizing bake, broil, and convection settings, achieving delicious results with your Oster toaster oven’s versatile cooking capabilities․
Baking Recipes and Tips
Unlock a world of baking possibilities with your Oster toaster oven! From simple cookies to savory casseroles, this appliance offers consistent and convenient results․ For even baking, always preheat the oven thoroughly before placing your food inside․ Utilize oven-safe bakeware, ensuring it fits comfortably without touching the heating elements․
Experiment with different recipes – cakes, muffins, and breads all bake beautifully․ Adjust baking times slightly compared to a full-sized oven, as toaster ovens often cook faster; Consider using the convection setting (if available) for enhanced browning and faster cooking times․ Regularly check your baked goods for doneness, using a toothpick or cake tester․ Visit Oster’s website (www․oster․com) for entertaining tips and delicious recipes specifically tailored for your toaster oven!
Broiling Techniques
Achieve perfectly browned and crispy results with the broiling function of your Oster toaster oven․ Broiling uses high, direct heat from above, ideal for quickly cooking thinner cuts of meat, melting cheese, or browning vegetables․ Always position your oven rack closer to the heating element for effective broiling, but monitor closely to prevent burning․
Use broiler-safe pans and avoid those with plastic handles․ For best results, marinate meats beforehand to enhance flavor and tenderness․ Flip food halfway through the broiling process to ensure even cooking․ Keep the oven door slightly ajar during broiling to prevent overheating and maintain proper ventilation․ Remember to exercise caution, as the oven and cookware will be extremely hot!
Using Convection Settings (If Applicable)
If your Oster toaster oven features a convection setting, you can enjoy faster and more even cooking results․ Convection utilizes a fan to circulate hot air throughout the oven cavity, eliminating hot spots and reducing cooking times․ For optimal convection cooking, reduce the recipe temperature by approximately 25°F (15°C) and check for doneness slightly earlier than the recommended time․
Convection is particularly effective for baking multiple trays of cookies or roasting larger items like chicken․ Use convection for crispier textures and more uniform browning․ Avoid overcrowding the oven, as this can hinder air circulation․ Remember to always use oven-safe cookware when utilizing the convection function for safe and efficient operation․

Maintenance and Cleaning

Regular cleaning ensures optimal performance and longevity of your Oster toaster oven․ This section details how to safely clean both the interior and exterior surfaces․
Cleaning the Interior
To maintain peak performance, regularly clean the interior of your Oster toaster oven․ Always ensure the oven is completely cool and unplugged before beginning․ Remove any loose crumbs or food debris with a soft cloth or brush․ For stubborn residue, create a paste of baking soda and water, applying it to the affected areas․
Let the paste sit for 15-20 minutes to loosen the grime, then gently scrub with a non-abrasive sponge or cloth․ Avoid harsh chemicals or scouring pads, as these can damage the interior coating․ Wipe down all surfaces with a damp cloth, ensuring no baking soda residue remains․ Pay close attention to the heating elements, cleaning around them carefully․
Thorough interior cleaning prevents smoke and odors during future use, ensuring delicious and safe cooking experiences․
Cleaning the Exterior
Maintaining a clean exterior keeps your Oster toaster oven looking its best․ Begin by unplugging the oven and allowing it to cool completely․ Wipe down the exterior surfaces with a damp cloth and mild dish soap․ Avoid abrasive cleaners, as they can scratch or discolor the finish․
For stainless steel models, use a stainless steel cleaner to remove fingerprints and smudges, following the product’s instructions carefully․ Pay attention to the control panel, gently wiping away any spills or debris․ Ensure no water enters the oven’s internal components during cleaning․

A clean exterior not only enhances the appliance’s appearance but also contributes to a hygienic kitchen environment․
Replacing the Crumb Tray
Regularly emptying and replacing the crumb tray is crucial for maintaining your Oster toaster oven’s performance and preventing unpleasant odors․ Always unplug the oven and allow it to cool completely before accessing the crumb tray․ Locate the tray, typically at the bottom of the oven, and carefully slide it out․
Dispose of the collected crumbs and wash the tray with warm, soapy water․ Ensure it’s thoroughly dry before reinserting it into the oven․ A clean crumb tray prevents smoke and potential fire hazards․
Inspect the tray for any damage during cleaning; replace it if necessary․ Consistent crumb tray maintenance extends the life of your appliance․
Troubleshooting Common Issues
Encountering issues with your Oster toaster oven is common, but often easily resolved․ If the oven isn’t heating, verify the power cord is securely plugged in and the outlet is functioning․ For uneven cooking, ensure food isn’t overcrowded and rotate it during the process․
Timer malfunctions can usually be fixed by resetting the oven – unplug it for a few minutes, then plug it back in․ If problems persist, check the control panel settings;
Always consult the full manual for detailed troubleshooting steps and safety precautions before attempting any repairs․ Contact Oster customer support if issues remain unresolved․
Oven Not Heating
If your Oster toaster oven isn’t heating, begin with the simplest checks․ First, confirm the power cord is firmly connected to a working electrical outlet․ Test the outlet with another appliance to rule out a power supply issue․ Ensure the oven door is completely closed, as a safety mechanism prevents operation when ajar․
Verify the function dial is set to a heating function (Bake, Broil, Toast) and the temperature is appropriately selected․ If the issue persists, try resetting the oven by unplugging it for several minutes before plugging it back in․
Do not attempt to repair the oven yourself; contact Oster support․
Uneven Cooking
Experiencing uneven cooking in your Oster toaster oven? Several factors could contribute to this issue․ Ensure food isn’t overcrowded on the baking pan or rack, allowing for proper heat circulation․ Rotate the pan halfway through the cooking process for more consistent results, especially when baking․
Verify the oven is preheated to the correct temperature before placing food inside․ If using convection, ensure the fan is operating correctly․ Check that the heating elements are clean and free of obstructions․
For consistent results, use oven-safe cookware and avoid placing food directly against the oven walls․
Timer Malfunctions
If your Oster toaster oven’s timer isn’t functioning correctly, first ensure it’s properly set and hasn’t accidentally been bumped or altered during operation․ A common issue is a power surge affecting the timer’s internal circuitry; try resetting the oven by unplugging it for several minutes and then plugging it back in․
If the timer continues to malfunction – failing to start, stopping prematurely, or displaying incorrect times – avoid prolonged use․ Continued operation with a faulty timer could pose a safety risk․
Contact Oster customer support for assistance or potential repair options․ Do not attempt to disassemble or repair the timer yourself․
Warranty Information
Oster provides a warranty for its toaster ovens, covering defects in materials and workmanship․ Registration is recommended for efficient service claims․
Registering Your Product
Registering your new Oster toaster oven offers several benefits, ensuring a smoother warranty experience should you ever need to make a claim․ Online registration is typically the fastest and most convenient method, accessible through the official Oster website – www․oster․com․
During registration, you’ll likely need to provide your model number, serial number (often found on the appliance itself or the packaging), and proof of purchase, such as a receipt or invoice․
Keeping your registration information current allows Oster to notify you of important product updates, safety recalls, or exclusive promotions․ While registration isn’t always mandatory to activate the warranty, it significantly simplifies the process if a warranty service is required․
Contacting Oster Customer Support
For assistance with your Oster toaster oven, several customer support options are available․ The Oster website, www․oster․com, provides a comprehensive FAQ section addressing common questions and troubleshooting tips․ You can also often find downloadable manuals and helpful resources there․
If you require direct assistance, Oster typically offers phone support․ Check the website for the most up-to-date contact number, as it may vary by region․ Email support is another avenue, allowing you to submit detailed inquiries and receive a response within a specified timeframe․
When contacting support, have your model number and purchase date readily available to expedite the process․